Easy multiboot ISO USB drives with Ventoy
Often you want to create a bootable USB using an ISO file to install or upgrade Windows or Linux. Another reason to create a bootable USB could be to use a tool like GParted to manage your disk partition, or perhaps you simply want to try out a new Linux distribution. This means you often have to recreate your bootable USB.
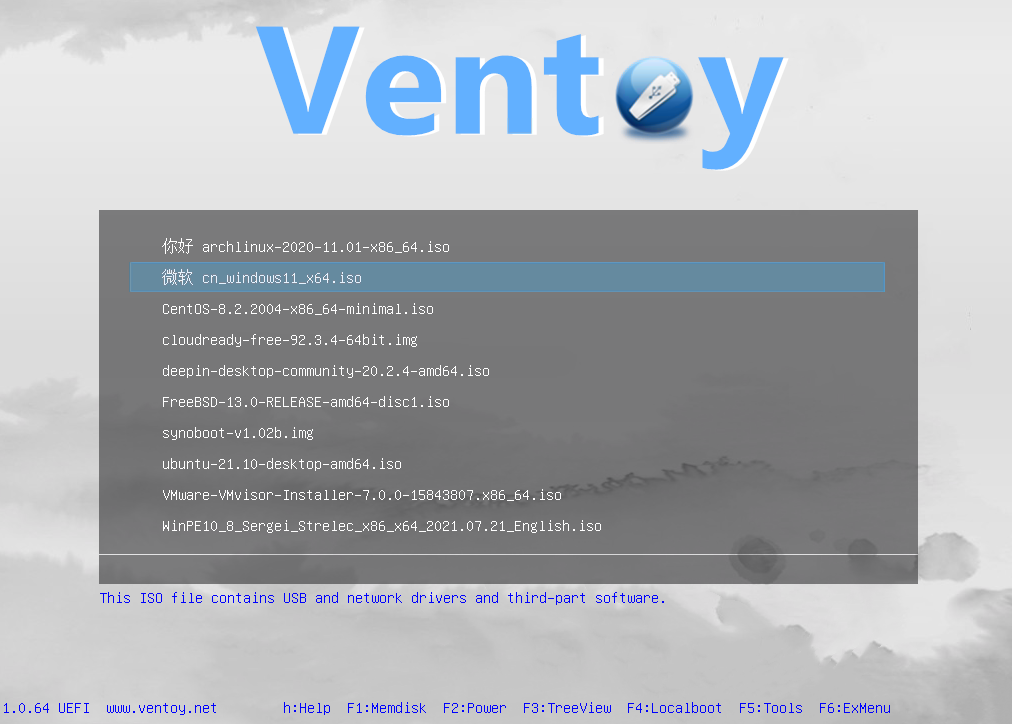
The ability to drag and drop ISO files to your USB drive and then be able to boot them would be a great solution to quickly boot an ISO file without recreating the bootable USB drive. This is exactly what Ventoy does: you create a bootable USB drive using Ventoy, and Ventoy will automatically create a partition on the USB drive where you can put your ISO files. Then reboot your computer and boot from the Ventoy USB drive.
Something you shouldn't forget: you need to disable secure boot before you can boot from a Ventoy USB drive.
I can confirm Ventoy works great, also in UEFI boot mode. I use a 256GB SSD in a USB enclosure, and this enables a great experience. I can copy large ISO files within a minute to my USB SSD drive and then immediately boot from it. No more waiting for 10-15 minutes to write a USB drive and lose all your files in the progress.
Highly recommended!
Automated backups using cloud storage with rclone
There's a simple rule for file backups, the so-called 3-2-1 rule: 3 copies, 2 different media, 1 offsite. Applying this simple rule ensures that in the case of a calamity there is a high chance you are able to recover your files. However, creating automated offsite backups is not a trivial task. Luckily, rclone comes to the rescue. Rclone is command-line tool similar to rsyncwith cloud storage support. This means that you can copy your files to cloud providers such as Dropbox, OneDrive, Google
Sun Jan 23 2022
Simple network performance measurements with iperf
iperf is free open-source command-line utility for measuring network performance. It is available for Linux, Windows and macOS. It can be used in both client and server mode. Install iperf * Ubuntu: sudo apt-get install -y iperf * macOS: brew install iperf * Windows: download here Server mode To run iperf in server mode, run the following command: iperf -s It listens to TCP port 5001 by default. You change this by specifying the -p parameter. If you are doing wireless network perform
Fri Jan 21 2022