macOS Sequoia window tiling custom keyboard shortcut
With macOS Sequoia 15, Apple introduced the highly requested feature window tiling feature. This allows the user to quickly put windows side-by-side using a simple keyboard shortcut, similar to what Windows and Linx distributions have long been able to achieve.
The feature works as expected, but it has one big downside: the keyboard shortcut used for windows tiling uses the Globe/Fn key that can only be found on Mac keyboards. This key is not available on most third party keyboards, making it impossible to use the window tiling feature with an external keyboard such as the popular Logitech MX Keys S.
Fortunately macOS provides a way to override the default shortcuts:
- Go to Settings > Keyboard > Keyboard Shortcuts
- Click on App Shortcuts and expand "All Applications".
- Click on the + button to add a new shortcut.
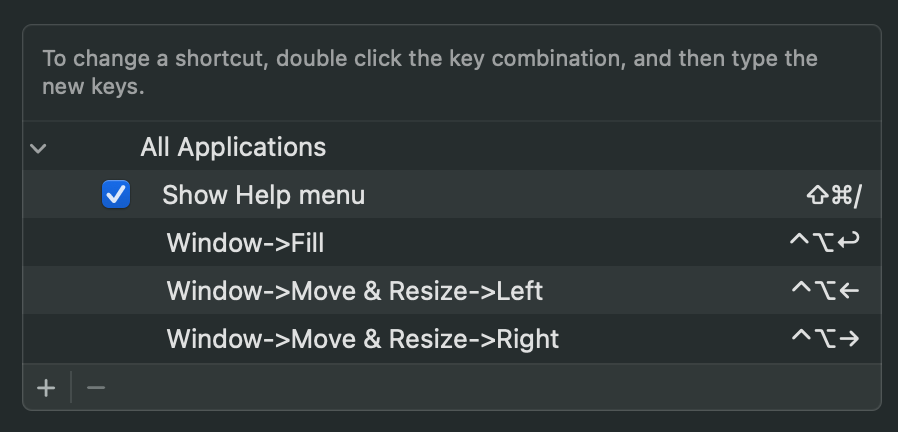
- Now here you have yo pay attention: you have to specify the exact menu title for which you want to specify the custom shortcut:
- Here you should enter "Window->Move & Resize->Left" or "Window->Move & Resize->Right" to override the shortcuts to snap windows to the left or right side of the screen.
- Specify the custom keyboard shortcut, for example
^ ⌥ Leftor^ ⌥ Right
- Be sure to save the shortcut before trying it out.
In my case, I added the following shortcuts:
Note: make sure your custom shortcut doesn't conflict with already existing shortcuts in apps that you use. For example, the custom shortcut was already assigned in VS Code, so I had to unassign it first before the shortcut worked in VS Code.
Happy tiling!